How to configure Stub Zone in DNS- Windows Server 2012 R2
How to configure Stub Zone in DNS- Windows Server 2012 R2
In this article, we’ll talk about the steps to configure Stub Zone in DNS on Server 2012 R2. As we know that Domain Name System is used for name resolution, it resolves the host name to IP address and IP address to host name.
Stub Zone is also a read only copy of Primary DNS server like a secondary. It points to the zone that contains all the resource records required for name resolution. Primarily it contains records like, Start of Authority(SOA), Name Server(NS) and Host(A) records. It saves on bandwidth by not replicating all the data. Unlike secondary, it doesn’t replicate all the data from the primary DNS server.
Steps to configure Stub Zone in DNS Server 2012 R2
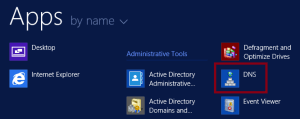
1. Click on Start button, select the down arrow and select DNS. That would open DNS manager.
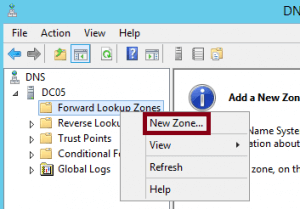
2. To configure Stub Zone, in DNS manager, expand computer name. Right-click Forward lookup and select “New Zone”.
3. Click on next to continue.
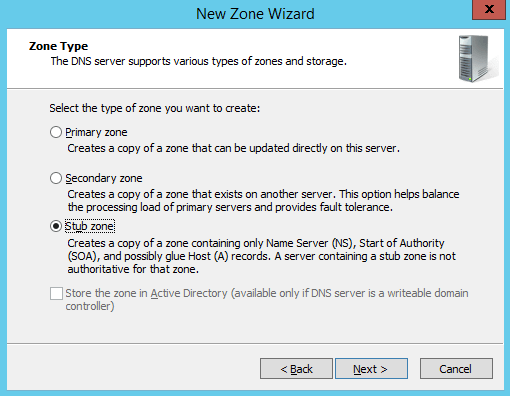
4. In the “Zone type” window, select the type of zone that you want to use. For this practical we’ll use Stub. Click on next to continue.
5. Type the name of domain. In this example, we are creating Stub for “ABC.COM”. Click on next to continue.
6. Select Create a new file with this file name and hit Next.
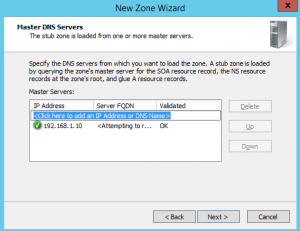
7. Type an IP address of Primary. IP address of Primary DNS is 192.168.1.10. Hit enter. A green check confirms that Stub is able to communicate with Primary. In case of failure check the communication. Click on next to continue.
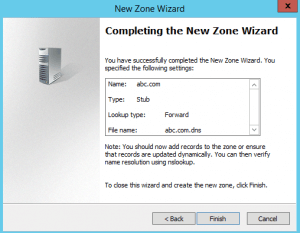
8. Click on Finish to close the Wizard.
9. On the Stub we can see an error message ‘Zone not Loaded by DNS Server’. This error occurs because we didn’t complete the prerequisite of allowing zone transfer on Primary\Active Directory Integrated.
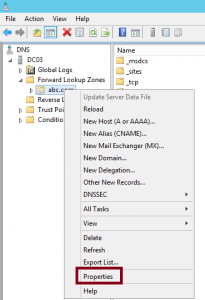
10. To allow “Zone Transfer”, go to Primary. Right click the domain name and select properties.
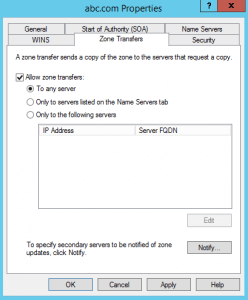
11. In the Domain properties window, select “Zone Transfer” tab and select an option “Allow zone transfer”. Under zone transfer we can see three options:
Options to allow zone transfer:
a) To any server: This would allow zone transfer to any server. This option is not secured as we are not restricting the list of computers to transfer data.
b) Only the servers listed in the Name Server tab: This option will only allow the Zone transfer to the computers listed in the Name Server tab.
c) Only to the following servers: You can define the list of computers to which zone transfer will be allowed.
12. After we allow Zone transfer in Primary. Go back to the Stub DNS and refresh the console. Now we can see all the data visible in Stub. We cannot create any Resource records in Stub as it is read only copy of Primary i.e. you cannot create any record or delete any record from here.
Other related articles:
How to install DNS Server 2012 R2
How to install AD Integrated Zone
How to install DHCP Server 2012 R2





very helpful,,,easy,,,thank you so much,,,,,,,
and i would like to ask that how to integrate two primary dns through stub zone,,,,means relationship,,,
thanks
Could you please elaborate your question.