How to Install DHCP Server 2012- Step by Step guide
How to Install DHCP Server 2012 R2
In this post, we’ll learn the steps to install DHCP Server on Windows Server 2012 R2. In other posts, we talked about the steps to assign IP address using GUI mode, change IP Address from Command Prompt even we learned the steps to assign IP address using PowerShell command.
What is DHCP Server?
DHCP is known as Dynamic Host Configuration Protocol. It is used to assign dynamic IP address to computers. Let’s take an example, in your organization you have about 4000 desktops to manage. How would you keep track of all the computers? How would you track the IP address for all the computers, if you assign static IP address. Isn’t managing records and keeping track would be a tedious task for an Administrator.
Unlike static address, managing dynamic IP address is very simple and easy to manage. DHCP will help you centrally manage and configure IP address for your environment. You don’t need to maintain the list of IPs that you have already assigned or worry about assigning similar IPs to multiple computers, etc. In addition to IP address, it provides other configuration details e.g. IP address of DNS, Router, etc.
Steps to install DHCP Server 2012 R2
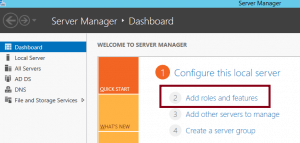
1. To install DHCP server, open server manager.
2. On the dashboard, select “Add roles and features”.
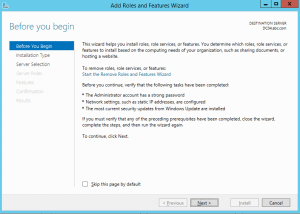
3. This window will explain you about the importance of roles and feature wizard.
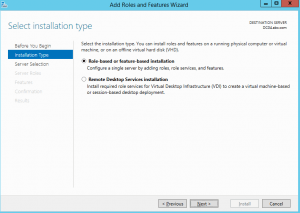
4. To install DHCP server, select the option “Role-based or feature-based installation”. Click next to continue.
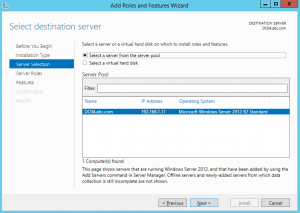
5. Out of pool, select the server on which you want to install DHCP. Click next to continue.
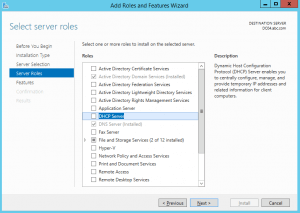
6. In the “Select server role” window, select DHCP role. This would add additional features required for DHCP. Click on “Add Features” to add all the dependent features automatically. Moreover, please ensure that “Include Management tool” option is checked. This will install the management tool required to manager the role. Click next to continue.
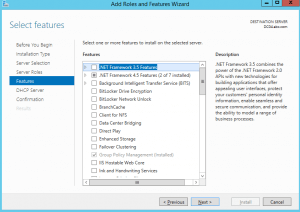
7. In the “select feature” window, all the dependent features are already selected. We don’t need to select any additional feature. Click next.
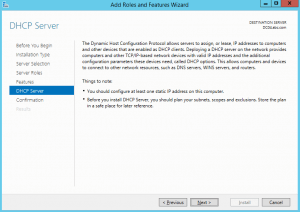
8. This window will explain you the functionality and advantages of DHCP. Read the important points mentioned under “Things to note”.
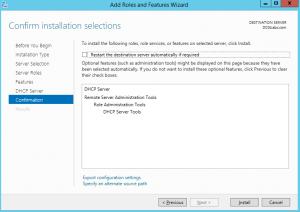
9. Check the option “Restart the destination server automatically if required”, this would restart your Computer after role is successfully installed. Click on yes, if you are good to automatically restart the computer. Click on install to begin the installation process.
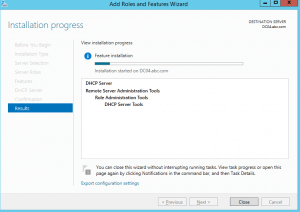
10. Installation progress can be reviewed in this window. You can even close this window, it would not interrupt the running task. Click close once the installation is completed.
Articles you might be interested in:


