How to Install IIS on Windows Server 2012 R2
In this article, we’ll learn the steps to install IIS on Windows Server 2012 R2. IIS is internet information services, formerly called Internet Information Server. IIS is one of the most popular services of Microsoft which is used to host and provide Internet-based services. Web server is providing a response to requests which come from users. Internet Information Server has its own ASP.NET Process Engine to handle the ASP.NET request.
Through IIS we can host http, https, and FTP sites. Site is a collection of web pages for example Google.com, Microsoft.com. In the above mentioned sites, we can see a large number of web pages which are linked with each other. With the help of IIS you can create and host your own website like https://itingredients.com/.
Let’s start with the step by step approach to Install IIS 8.5 on Windows Server 2012 R2.
1. Open Server Manager.
2. On Dashboard of Server Manager select ‘Add Roles and Features’.
3. On “Add Roles and Features Wizard” we will verify all the prerequisites like administrator account has a password, valid static IP address is configured on the box, etc. To continue, click Next.
4. Select “Role-based or feature-based installation” and click on Next.
5. In ‘Select destination server’ wizard, in server pool all remotely manageable servers are listed, select the computer on which you want to install IIS role.
6. Select “Web Server IIS”.
7. Some features are required to install IIS on Windows Server 2012 Rs i.e. Web Server role. Select “Add Features”.
8. In “Select features” windows, we don’t need to select any additional features. As all the required features are already selected.
9. Here, we can see additional information about Web Server Role. Click next.
10. In “Select role services”, select ‘Basic Authentication, Digest Authentication and select all management tools.
11. To ADD features that are required for Management Service .Select ADD Features.
12. We selected all the roles that required to install IIS on Windows Server 2012 R2. Click on Next.
13. In “Confirm Installation selections” windows, we can see all the roles and features that we have selected. Select the option “Restart the destination computer automatically if required”and Click on Install. After completing the Installation close the wizard.
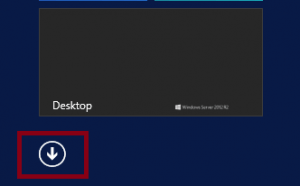
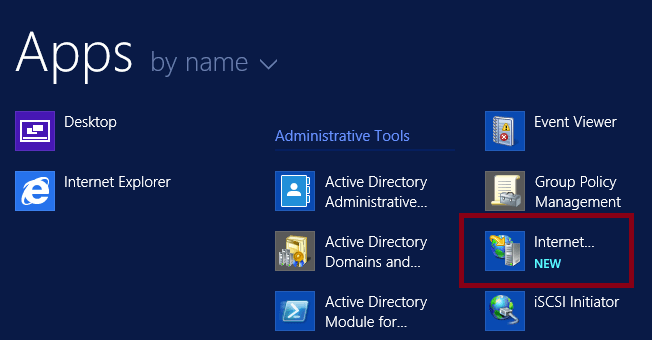
14. To verify if the IIS is installed or not. Click on start button then click on down arrow. IIS icons confirms that it is installed successfully.
15. We can also verify that Internet Information Services role is installed, by open default website. Open Internet Explorer and type hostname in the address bar and hit enter, it would open the default web page.
Related articles:
- How to deploy certificate on IIS Server
- How to create new Website on IIS Server.


