

How to take System State Backup in Windows Server 2012 R2
How to take System State Backup in Windows Server 2012 R2
For every Organization, their data is valuable and it takes time, efforts and money to re-create the lost data. Sometimes, even it can’t be re-created in that case it would lead to big loss to the Organization. So, to overcome all the outages incurred because of accidental deletion or corruption of data, backup is required. In this post, we’ll discuss the steps to take System State Backup in Windows Server 2012 R2. System state backup would result in taking backup of all the objects of Active Directory.
In this example, we have only one Domain Controller in the environment and we have an OU named Sales and few Users in the OU. System State backup includes the data like Boot files, System files, Registry, Active Directory, Sysvol etc. The System State backup that we’ll take, it would take backup of OU (how to create OU) and Users that we have created in our Domain.

Steps to take System State Backup in Windows Server 2012 R2
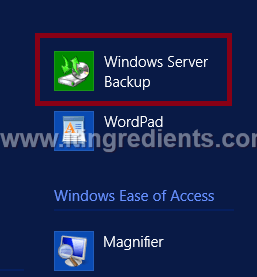
1. To start with the process of System State Backup, we need to enable the option of Windows Server Backup from the Server Manager. To enable the option, open Server Manager and enable Windows Server Backup from the features. Open “Windows Server Backup” from Administrative tools in Start menu.
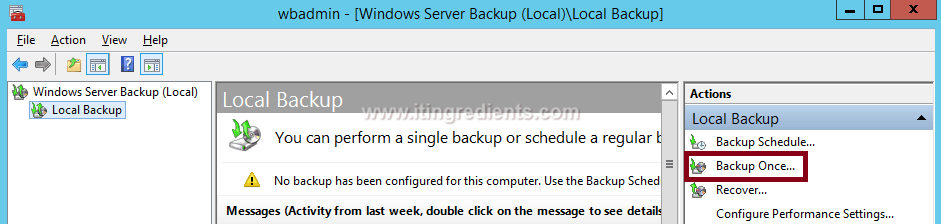
2. On Windows Server Backup console, click on “Backup Once” for starting the backup process. You can also schedule a System State Backup by selecting an option of “Backup Schedule”.
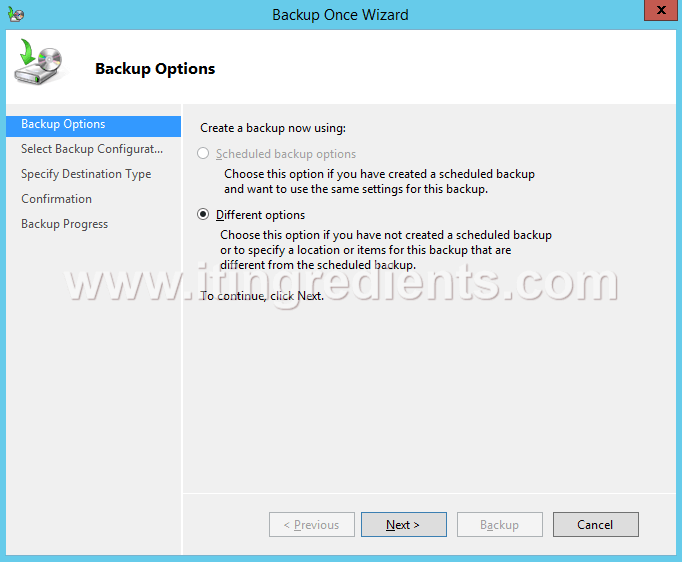
3. On Backup Options console, “Scheduled backup options” is disabled because this option is only available when scheduled backup is configured and the same settings want to be used this time also. Click on Next to continue with the “Different options” to specify the location and items for this backup.
4. On Select Backup Configuration console, either select the option of “Full Server” to backup all server data, applications and system state or select the option of “Custom” to choose custom volumes, files, data for backup, etc. For this practical select “Custom” and then Click on Next to continue.

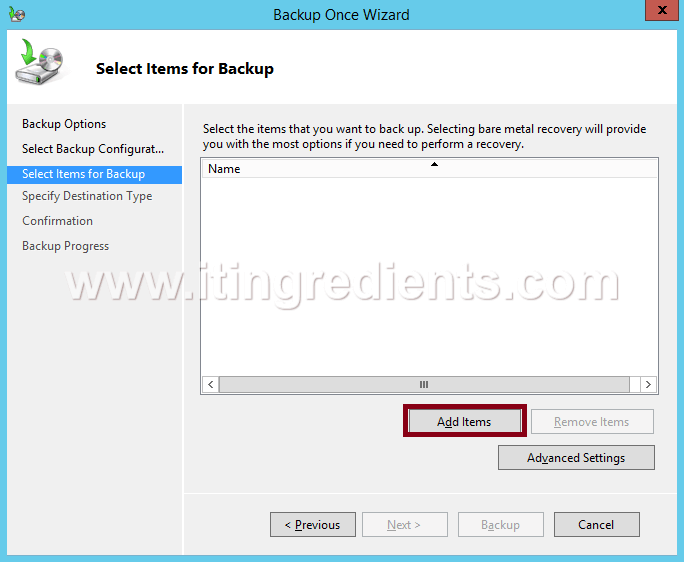
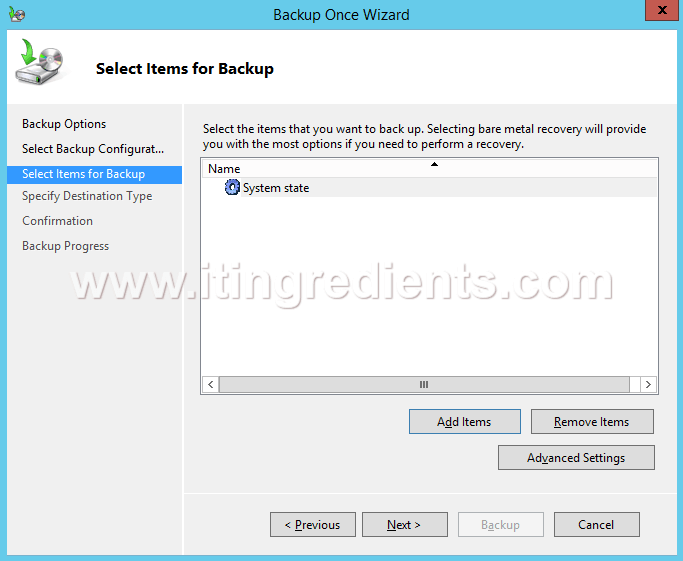
5. On Select items for Backup console, Click on “Add Items” to select the option of System State Backup.
6. On Select Items console, select the items to include in the backup. Here, we have selected the option of System State only. Click on OK to continue.

7. On Select items for Backup console, verify the items to be included in a backup and click on Next to continue.
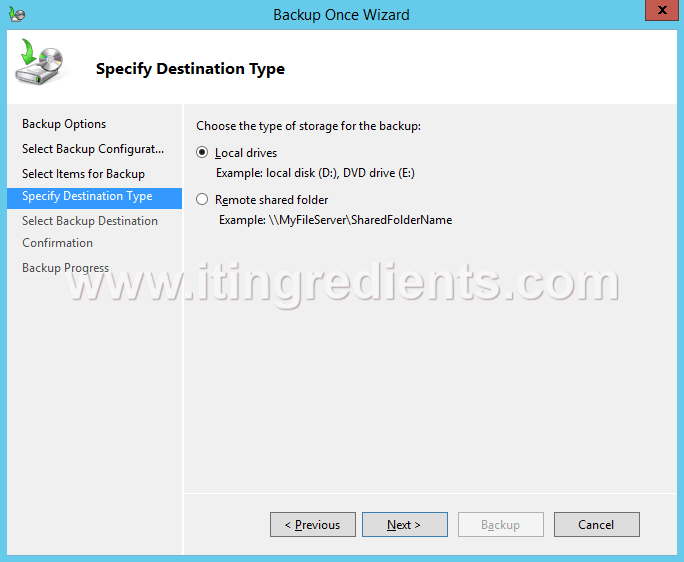
8. On Specify Destination Type console, select the type of storage for the backup. Select “Local drives” to save the backup in local drives like local disks and DVD drives or select “Remote shared folder” to store the backup in any share folder of our choice. Click on Next to continue. In this practical, we will save the backup to a local drive.
9. On Select Backup Destination console, select the destination drive from the available listed drives in the drop-down menu of Backup destination option. This console also shows the total space and free space available of the selected drive. Click on Next to continue.

10. On Confirmation console, verify all the options selected on previous consoles and click on Backup to start the backup process.

11. On Backup Progress console, we can see the status and details of the backup. Click on close to close this wizard and the backup process will continue to run in the background or wait for the completion of backup. Depending upon the size of data it will take few minutes and then click on Close to close the window.

12. In the future articles, we’ll learn the steps to perform Authoritative and Non-Authoritative restore and would also understand the difference between Non-Authoritative restore and Authoritative restore in different environments.