How to Install and Configure Remote Desktop Services (RDS)
How to Install and Configure Remote Desktop Services (RDS)
In this post, we’ll learn the steps to install and configure Remote Desktop Services (RDS). Remote Desktop Protocol (RDP) is a technology of Microsoft, it enables users to connect to another computer over a network using graphical interface. It is previously known as “Terminal Services”. By using RDP, administrators can diagnose and resolve problems remotely. Nowadays RDS is primarily used by all the Organizations that are providing remote support or manage their Servers and environment remotely. RDP uses TCP port number 3389 and UDP port number 3398. Please ensure this port is enable in the Firewall between the RDS server and client machine. I’d not recommend to enable this port on Domain Controller because of security issues.
Steps to install and configure Remote Desktop Services (RDS) in Windows Server 2012 R2
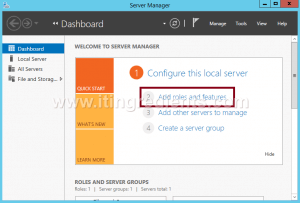
1. To install and configure Remote Desktop Services, open Server Manager and click on “Add roles and features” to install the role of remote desktop services.
2. On Before you begin console, we can read all the pre-requisite tasks to be performed before proceeding further and please verify that administrator account must have a strong password, network settings such as static IP address is configured on the server. Click on Next to continue.
3. On Select installation type console, select the option of “Role-based or feature-based installation“. Click on Next to continue.
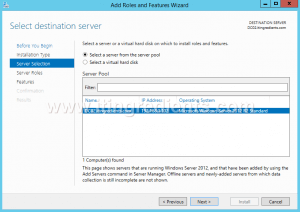
4. On Select destination server console, select the server from the servers listed in the Server Pool. Here, there is only one server listed i.e. DC02.itingredients.com. Select the server DC02.itingredients.com and click on Next to continue the installation process.
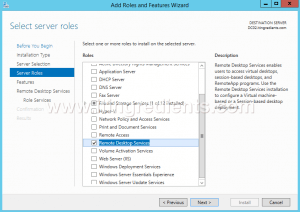
5. To install and configure Remote Desktop Services, on Select server roles console, select the role of “Remote Desktop Services” to install. Click on Next to continue.
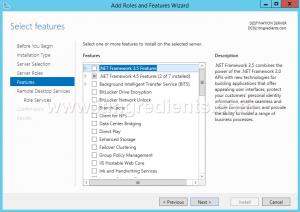
6. On Select features console, we don’t have to select any feature. Simply click on Next to continue.
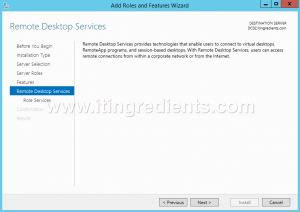
7. On Remote Desktop Services console, we can read the significance of RDS. It provides technologies that enable users to connect to the virtual desktops, RemoteApp programs, and session-based desktops. Click on Next to continue.
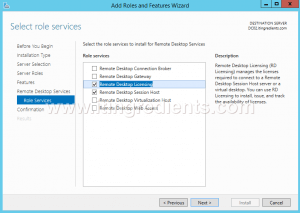
8. On Select role services console, select the options of “Remote Desktop Licensing” and “Remote Desktop Session Host“. A console appears for adding required features for both the role services respectively. Click on Add Features for adding the required features. Remote Desktop Session Host enables the functionality to run programs, enable uses to save file and access network resources on this Server. Click on Next to continue.
9. On Confirm installation selections console, verify all the options selected on previous consoles. Click on Install to install the role of RDS with selected features.
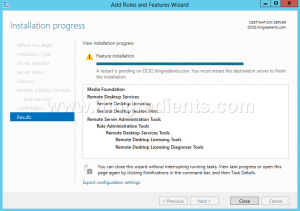
10. On Installation Progress console, we can see the installation progress. After the successful completion of the installation click on Close and restart the destination server.
11. After you are successfully done with the steps to Install and Configure RDS, install the Licenses otherwise Microsoft only gives the grace period of 120 days.
Hope you understood the steps to install and configure Remote Desktop Services. Please feel free to leave your comments and suggestions in the comment section below.


