Install WSUS on Server 2012 R2 – Windows Server Update Services
How to Install WSUS on Server 2012 R2- Windows Server Update Services
In this post, we’ll learn the steps to install WSUS Server 2012 R2 (Windows Server Update Services) on Windows Server 2012 R2. Windows Server Update Services is a role in Microsoft server edition operating system which enables system administrators to manage patches. It is a single console used to download, deploy and manage patches. Most importantly WSUS is available free of cost and we don’t have to purchase additional licenses to use the tool.
Steps to install Windows Server Update Services
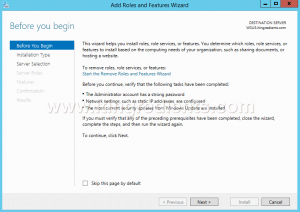
1. Login on the server on which you want to install WSUS, open Server Manager, click on Add roles and features to install WSUS role.
2. On Before you begin console, we can read all the pre-requisite tasks to be performed before proceeding further and please verify that administrator account must have a strong password, network settings such as static IP address is configured on the server. Click on next to continue.
How to Promote Domain Controller
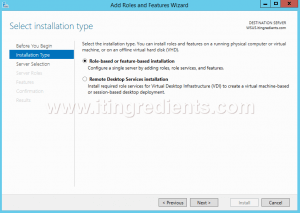
3. On Select installation type console, Select Role-based or feature-based installation. Click on next to continue.
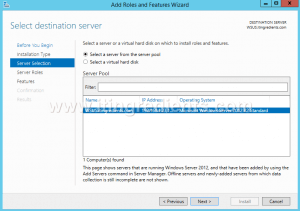
4. On Select destination server console, Select the server from the pool on which you want to install WSUS role. For this practical, select wsus.itingrediens.com. Click on next.
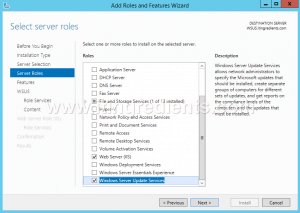
5. On Select server roles console, select Windows server update services role to be installed on selected computers. It would add all the required features required for WSUS. Click on Add Features to continue.
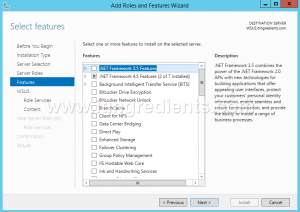
6. On Select features console, all the required features are already selected. Click on next to install WSUS Server 2012 R2.
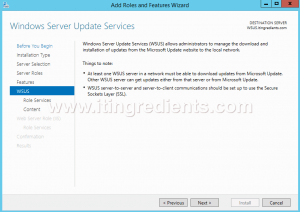
7. Windows Server Update Services console explain it’s importance. Windows Server Update Services allows an administrator to manage the download and installation of updates from Microsoft update website to the local network. Click on next.
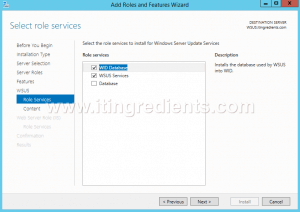
8. On the Select role services window, select the WID Database and WSUS Services. Click on Next.
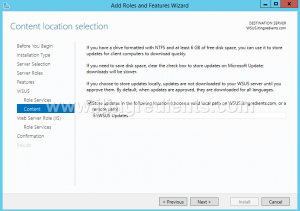
9. On Content location selection console, specify the path to save all the downloaded updates from the Microsoft website. Click on next.
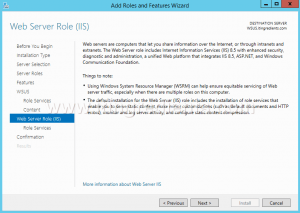
10. Web Server Role (IIS) console explains some important information about IIS. Web servers are the computer that allows us to share information over the internet. Click on next.
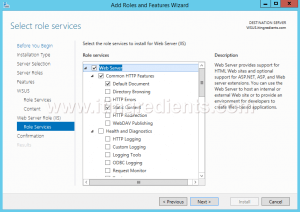
11. On Select role services console, some required roles are already selected to install the Web Server (IIS). We’ll not make any change and click on next.
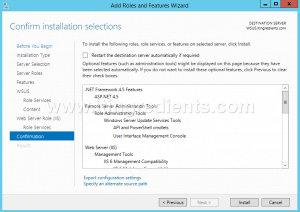
12. On Confirm installation selections console, confirm all the selections and click on Install to start the installation process.
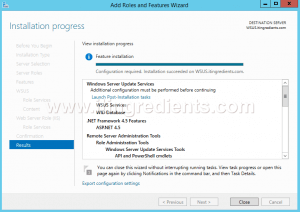
13. After completing the installation click on Close to close this wizard.
Hope you understood the steps to install WSUS Server 2012 R2. Please feel free to leave your comments and suggestions in the comments section.


Hmm, thanks.