How to Demote Domain Controller PowerShell- Server 2012 R2
How to Demote Domain Controller PowerShell- Server 2012 R2
In other article, we already talked about the steps to promote Domain Controller from GUI and promote domain controller with PowerShell. In this article, we’ll learn the steps to uninstall Domain controller PowerShell. PowerShell is a great tool available in Windows Operating Systems. It can automate the task and minimize the manual intervention.
Steps to demote Domain Controller using Powershell
1. Before we initiate DC demotion, run the test command to check any dependence or issues that could interrupt demotion process. This is kind of simulation that we can run without initiating demotion process.
2. To run the test command type “Test-ADDSDomainControllerUninstallation -DemoteOperationMasterRole -LastDomainControllerInDomain -RemoveApplicationpartitions“.
Explanation of Command:
Test-ADDSDomainControllerUninstallation: This command is to run the uninstallation test. It is like a simulation to check any issues or dependencies while uninstalling.
DemoteOperationMasterRole: This command is to demote all the Operations master roles i.e. FSMO (Flexible Single Master Operations role). We’ll talk in detail about FSMO roles in future articles.
LastDomainControllerInDomain: This switch is compulsary if this is the last DC in domain. If you have multiple DCs then this swith is not required.
RemoveApplicationPartitions: This switch is required to remove application partitions.
3. As mentioned in last point that Test is more like a simulation of demoting DC. It also wants the local administrator password that you want to set after this box is demoted.
4. Test command will also validate environment and user inputs and verify all the prerequisites for demotion process.
5. Read the staus message. If it shows success then we are good to initiate the process of domain controller demotion else it will display the issues that we need to fix.
6. Next step is to start the demotion process. To start with the demotion process type “Uninstall-ADDSDomainController -DemoteOperationMasterRole -LastDomainControllerInDomain -RemoveApplicationPartition” and hit enter.
7. Type local administrator password and re-type it to confirm.
8. The server will automatically be restarted after the operation is completed. Either type “Y” or “A” to continue the operation.
9. After the uninstallation is completed it would show status as Success. Server will automatically be restarted.
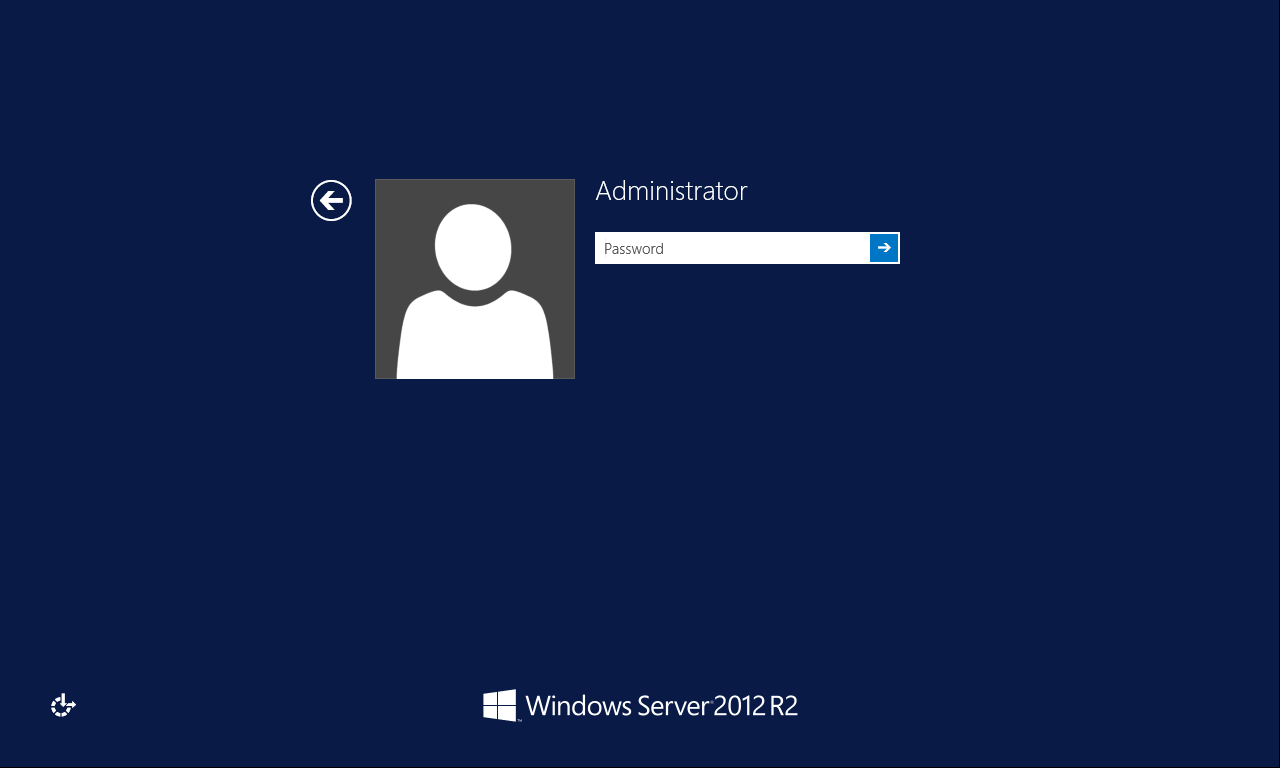
10. After restart login to this box using the credentials that you set in Step number 6.
Related articles you might be interested in:


Wow, fantastic weblog format! How long have you ever
been blogging for? you made running a blog glance easy. The entire look of your site is fantastic. I love the way you have explained the steps to Demote Domain Controller using power-shell commands. Frankly I wasn’t aware of PowerShell commands. This article is really very helpful.