How to promote Domain Controller 2012 R2
Steps to promote Domain Controller 2012- Windows Server 2012 R2
In this post, we will help you with the steps to promote Domain Controller 2012 on Windows Server 2012 R2. DC is used for the centralized management. It is also a repository for all the objects in a domain. Steps to promote Domain Controller 2012 is different from the steps follow in 2008/ R2.
My favorite DCPROMO command doesn’t not working in Windows Server 2012 R2. We’ll follow 2 phase approach to promote DC. In first phase we’ll install AD DS role and in a second phase we’ll install Active Directory. Let’s begin with the steps to promote Domain controller 2012.
1. To promote Domain Controller 2012, click on the icon of Server Manager.
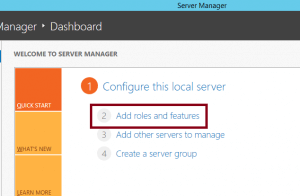
2. Click on “Add roles and features”.
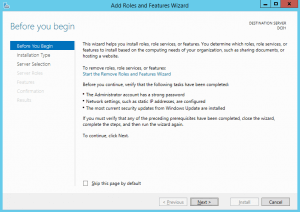
3. On “Add Roles and Features Wizard” we’ll verify all the prerequisites like administrator account has a password, IP address configured, rename the machine as per the naming convention your organization is using, etc. should be completed before we initiate the DC promotion steps. To continue, click Next.
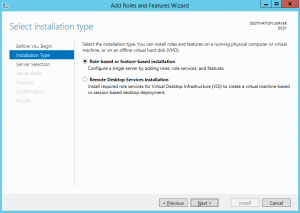
4. Select “Role-based or feature-based installation” and click on Next.
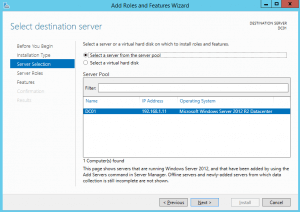
5. In Windows Server 2012 R2, we have an option to manage servers remotely. In the server pool we can see all the remotely managed servers but here only one server is listed. Click on Next.
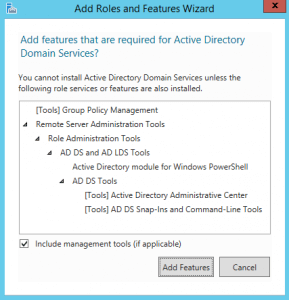
6. Certain features are required to install “AD DS”. Click on Add Features to install all the dependent features.
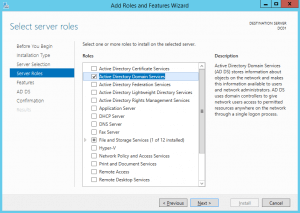
7. Select “Active Directory Domain Services” role to install on selected computer. AD DS is like a store which keeps all the information related to objects in a network and makes the information available to users & domain administrators.
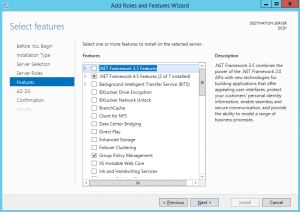
8. All the essential features required with AD DS role are already selected.
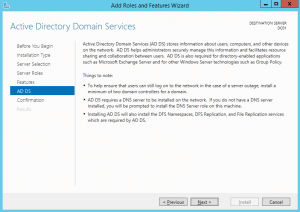
9. “Add roles and feature wizard” window is explaining the importance of AD DS role.
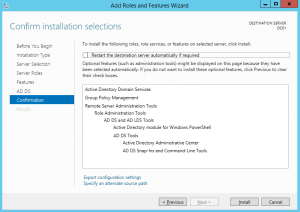
10. It confirms all the selected components which are required for AD DS role. It would also suggest restart the destination server automatically if required.
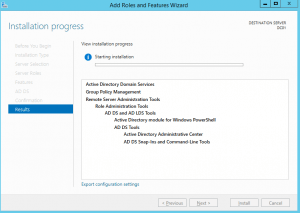
11. This console shows the installation in progress.
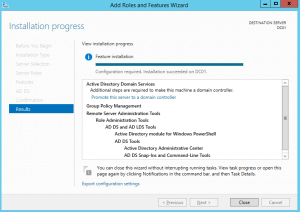
12. After completing the installations click on Close.
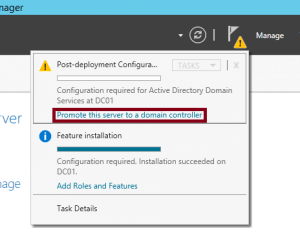
13. Installation of AD DS role is a prerequisite to promote a server as DC. On the dashboard of Server Manager, we can see a warning sign, click on that sign and then click on “Promote this server to a domain controller”.
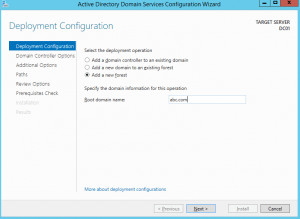
14. It will open “Active Directory Domain Configuration Wizard” window. In the “Deployment Operation” we’ll see three options “Add a domain controller to an existing domain“, “Add a new domain to an existing forest” and “Add a new forest“.
As we are creating new Forest therefore we need to select “Add a new forest” and enter the domain name. We’ll discuss about other two options in future posts.
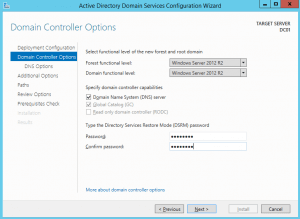
15. In the “Domain Controller Options” window, functional forest level and domain functional level is set to Windows Server 2012 R2. If you are planning to deploy DC then select Windows Server 2008 or Windows Server 2008 R2 as forest and domain functional levels.
We also want this computer to host the role of DNS therefore select Domain Name System (DNS). We also have to set the Directory Services Restore Mode (DSRM) password here, before proceeding.
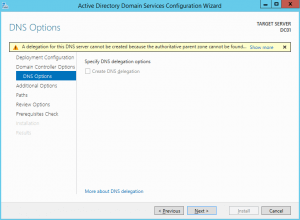
16. In DNS options window, it would ask to create DNS delegation. For this practical we’ll not select any option. Click on next.
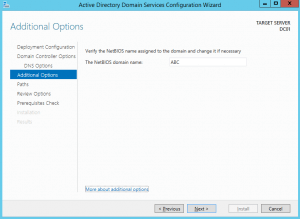
17. In Additional options, it will display Netbios name. I’d suggest to go with the default name but you can change it. Click Next.
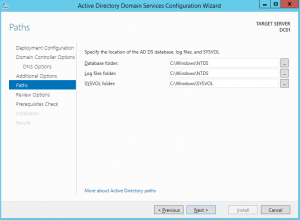
18. In the “Active Directory Domain Services Configuration Wizard” window we need to specify details of “Database Folder”, “Log files folders” and “SYSVOL folder”. You can change the path if you want. Click Next.
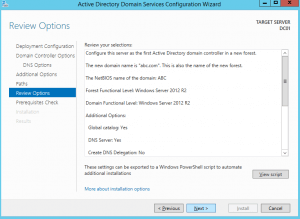
19. In the “Review Options” window, review all the settings that we have defined. Click on previous button, in case of any changes required else click next.
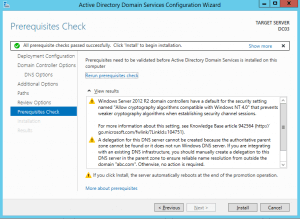
20. Active Directory will not be installed without checking all the pre-requisites. In “Prerequisite Check”, it will check all the prerequisites and will show error or warning. In this example, we’ll see certain warnings which we can ignore. In case of any error message, we need to fix it before initiating installation.
21. Domain Controller promotion 2012 requires server to reboot.
Hope you have understood the steps to promote Domain Controller 2012 R2. You can also learn the steps to promote Domain Controller using Powershell.


In what all scenarios we need to promote server to Domain Controller, is it really mandatory for the Organization or an optional task? Can we not use the old legacy DCPROMO command to promote a Domain Controller?