

How to Install VMWare View Composer 7 – Step 2
In this post, we’ll learn the steps to install VMWare View Composer 7 on Windows Server 2012 R2. VMWare View Composer is an optional feature while installing VMware Horizon View 7. It is primarily used if we want deploy linked-cloned desktop pools. Please ensure that you must have a license to install and use VMware View Composer.
Pre-requisite
- Domain Controller
- Database Server
- ODBC DSN
- Dot Net 3.5 SP1
Topic Sequence
- How to install VMWare Horizon View 7 Connection Server
- How to install VMWare Horizon 7 Composer Server
- How to add vCenter Server and Composer Server in Connection Server.
- Steps to add VMWare Horizon Agent
- How to create Virtual Desktop Pool
Steps to install VMWare View Composer 7
Step 1:
Please ensure that you install .Net 3.5 SP1 before we start with the installation of VMWare View Composer 7.
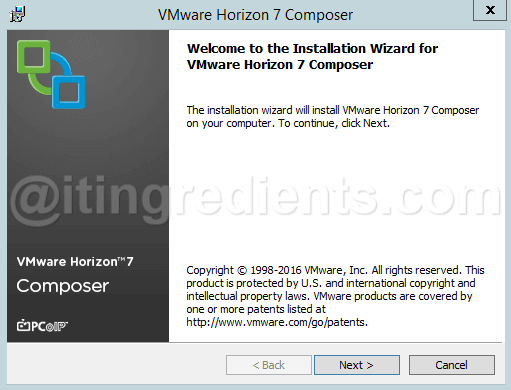
Download the View installer and run the same.
On the installer window, click on next to continue.
Step 2:
Accept the End User License Agreement and then click on next to continue.
Click on change to define an alternate destination folder else click on next to continue with the default location.

Step 3:
On the Database Information window, specify information of ODBC Setup name and ODBC Data Source Administrator and Administrator password.
If you have not created ODBC DSN setup then follow the steps given below from Step 4 to Step 6, else move directly to Step 7.

Step 4:
Click on “System DSN” tab and click on Add.

Step 5:
Select “SQL Server Native Client” and then click on Finish.
Specify the “Data Source” name, description and name of Database Server.
Specify SQL Server Authentication, we’ll use SA (SQL Administrator) to authenticate.
Click on next to continue.

Step 6:
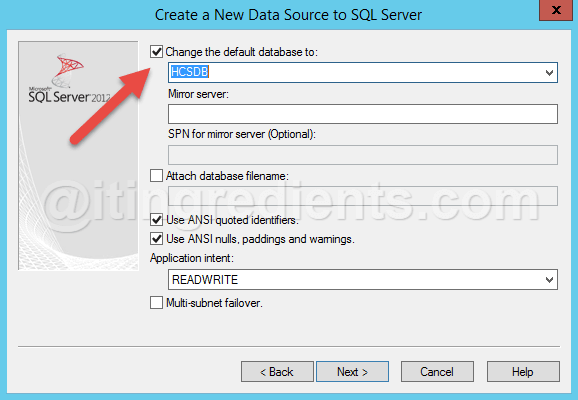
Check the box “Change the default database to” and select the database that you have created.
For this practical, we have already created Database with the name of HCSDB.
Click on Next and then click on Finish.
Test the data source to confirm that it’s working fine without any issue.
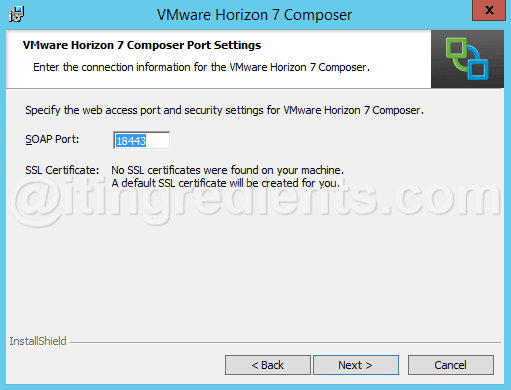
Step 7:
Specify the Web Access port, default port is 18443. You can assign any other port number if you want. However for this practical, we’ll use the default port number.
Step 8:
Click on install to install VMWare View Composer 7.
Step 9:
Once installation is completed, click on Finish to close the wizard and then restart the Server to complete the installation steps.
This concludes the tutorial. Hope you enjoyed the steps to install VMWare View Composer 7 on Windows Server 2012 R2. Please feel free to leave your comments and suggestions in the comment section and don’t forget to like and share this article with your friends. Happy Learning…!!
What is the use of VMWare view Composer 7. Is it mandatory to install ? Answer this question in the comment section.